

Looking to make an original character voice instead? See Voice Design.
Before you begin
- Sign in at fish.audio/app.
- A paid plan with a free PVC slot. Professional Voice Clone is not included in the Free plan. Each paid plan includes a number of PVC slots, and the Create Voice hub shows how many you have used.
- Time. The full flow takes about 1 to 2 hours. Training alone takes 10 to 30 minutes.
- Recordings. At least 10 minutes of clean audio of one speaker.
Open Professional Voice Clone
Go to fish.audio/app/create-voice and choose Professional Voice Clone. In the Create Professional Voice Clone? dialog, click Confirm. Fish Audio creates the clone and opens its workspace.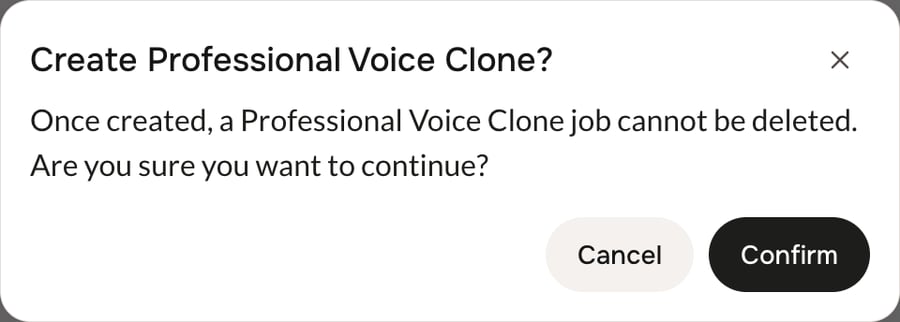
Create the clone
1
Upload your audio
Add recordings of the voice you are cloning.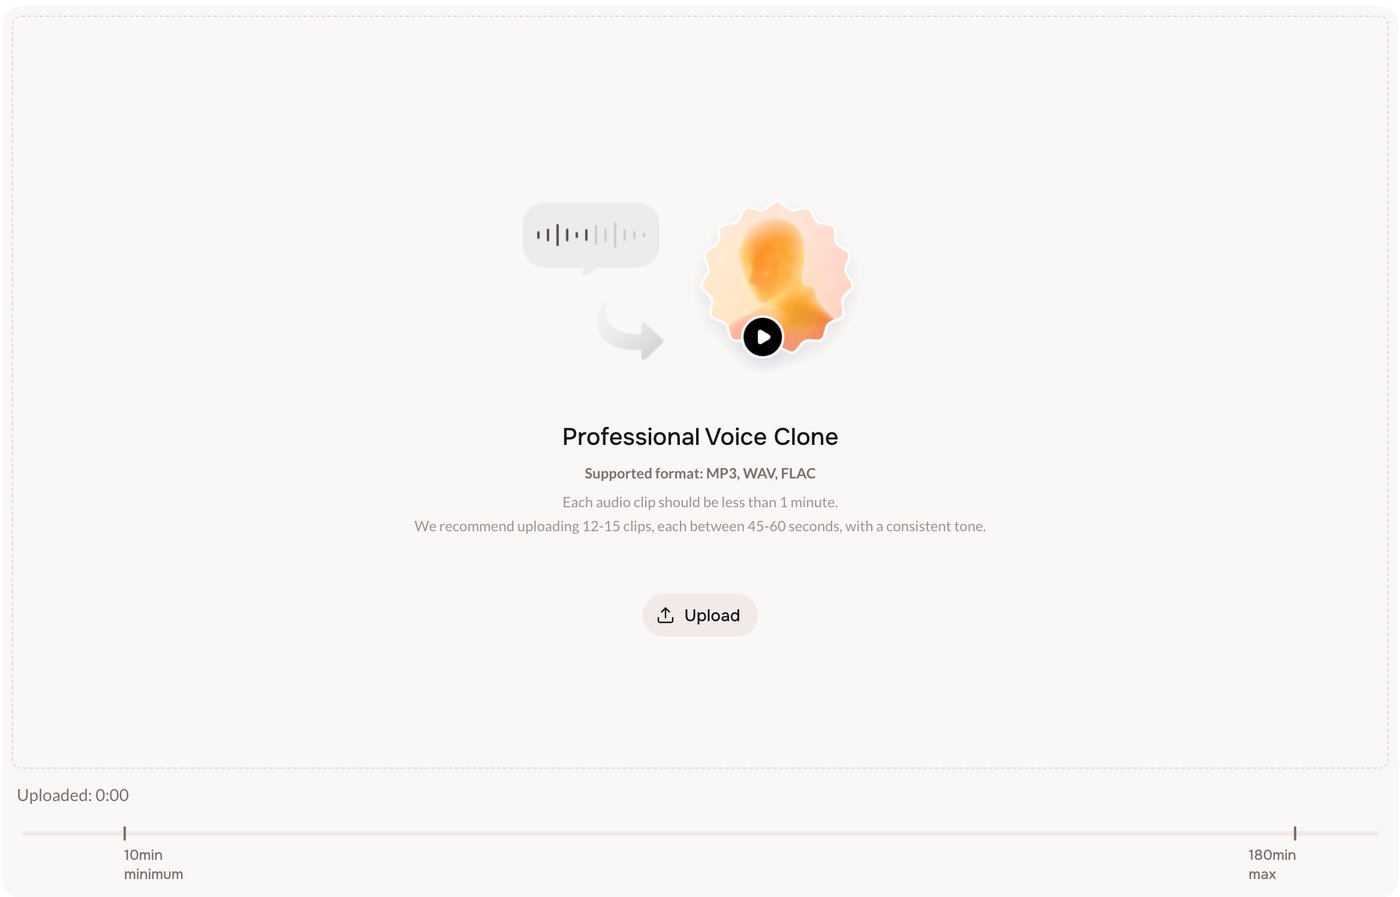
- Formats: MP3, WAV, FLAC. Other common audio and video files are also accepted.
- Each clip: less than 1 minute.
- Recommended: 12 to 15 clips, each 45 to 60 seconds, with a consistent tone. Make sure the clips add up to at least 10 minutes.
- Total: at least 10 minutes. The timeline shows your progress toward the minimum (up to a 180-minute maximum).
2
Analyze
When you have at least 10 minutes of usable audio, click Analyze Audio. Fish Audio checks the quality and language of each clip. When the analysis is done, click Continue.If you change your clips after the analysis, the results are cleared and you must analyze again.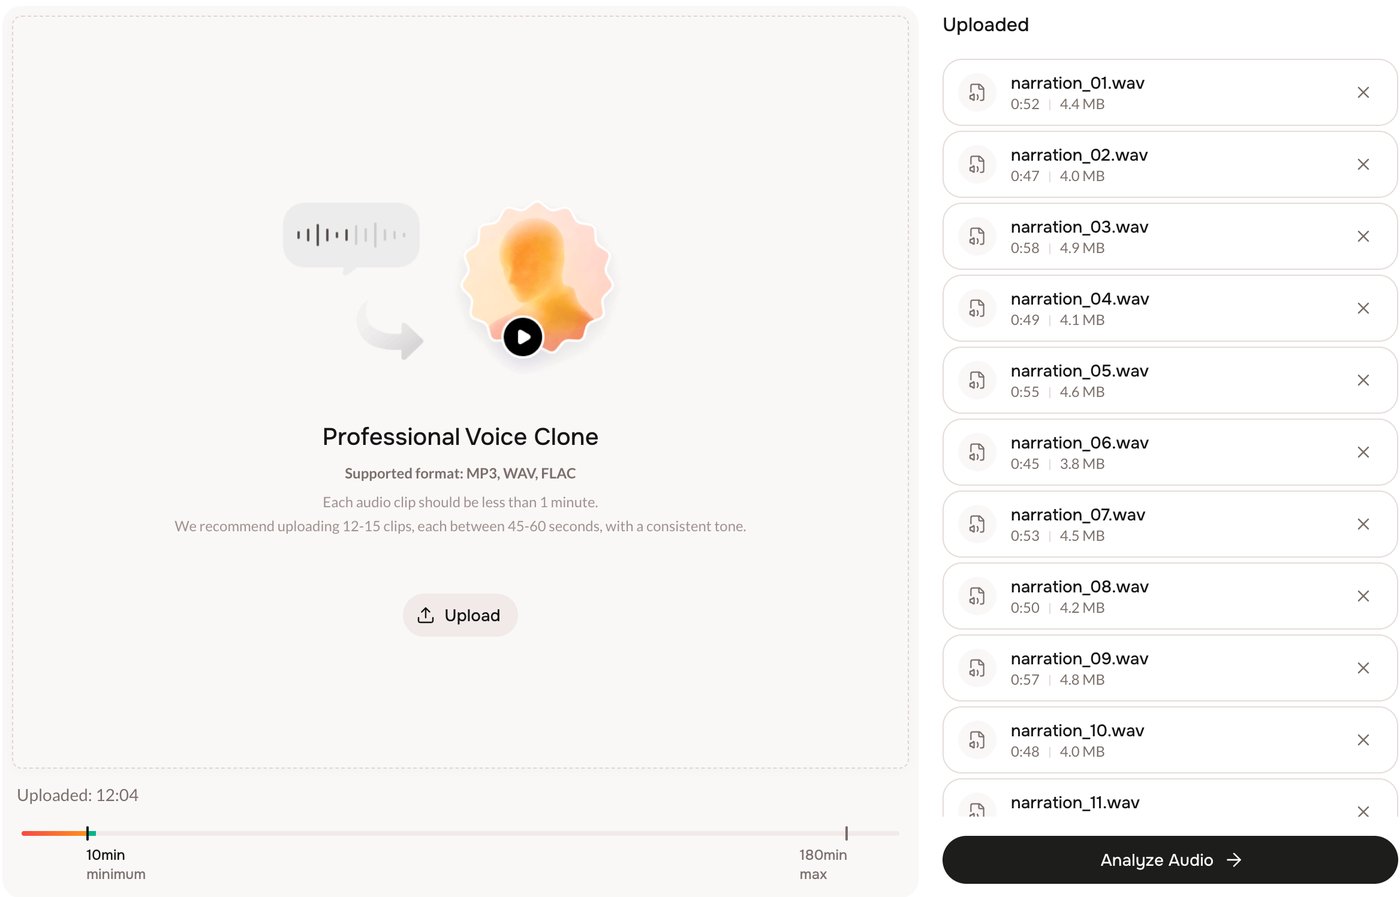
3
Verify the voice
In Verify Voice Ownership, choose the prompt language, click Record, and read the text on the screen aloud (up to 30 seconds). Click Stop. Fish Audio sends the recording at once and compares it with your uploaded clips.If verification fails, you see a reason such as “The words you read didn’t match the prompt.” or “Your voice didn’t match the uploaded audio.” Try again in a quiet room and read the prompt exactly. You have a limited number of attempts.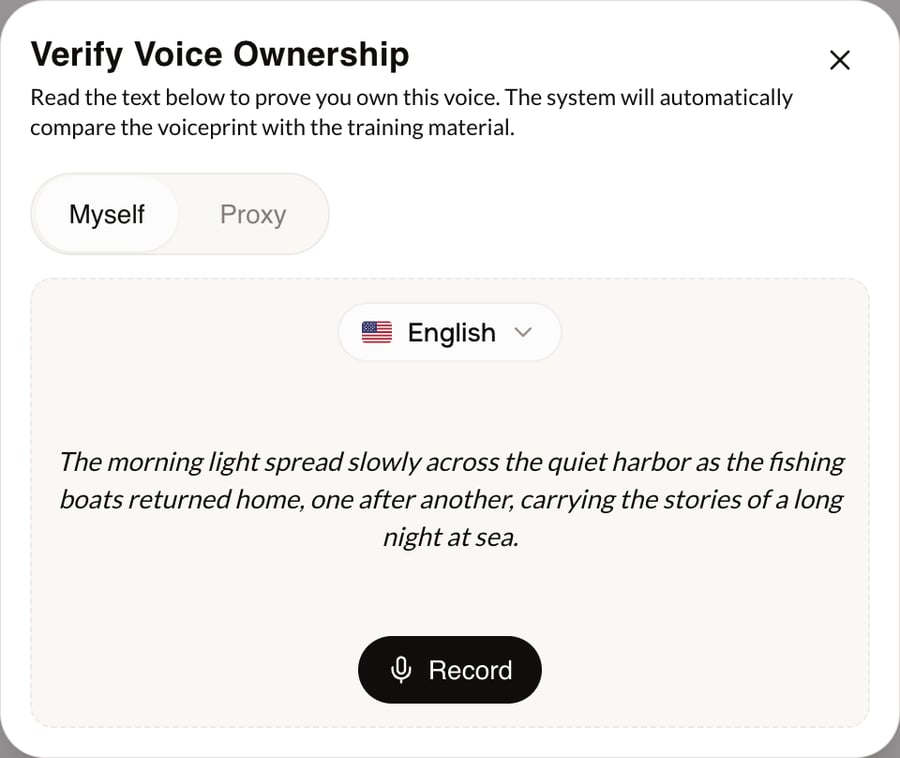
4
Wait for training
After verification, training starts and you see Preparing training materials… Training usually takes 10 to 30 minutes, and Fish Audio sends you an email when it is done. The page updates itself, so you can leave and come back.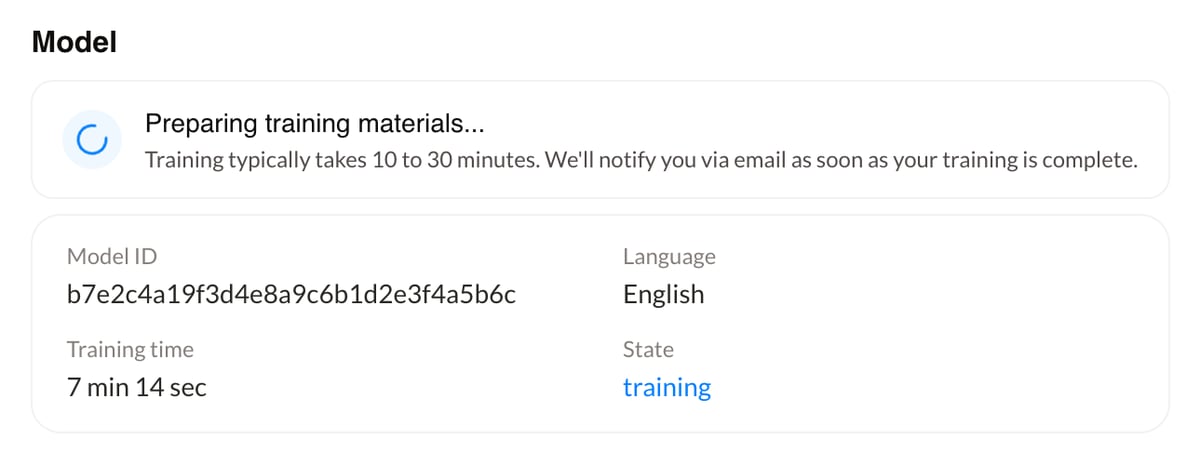
5
Preview the voice
When training is done, the Preview section has ready-made samples. Click play to listen. To hear your own words, click Custom preview text, type a sentence, and click Generate Preview.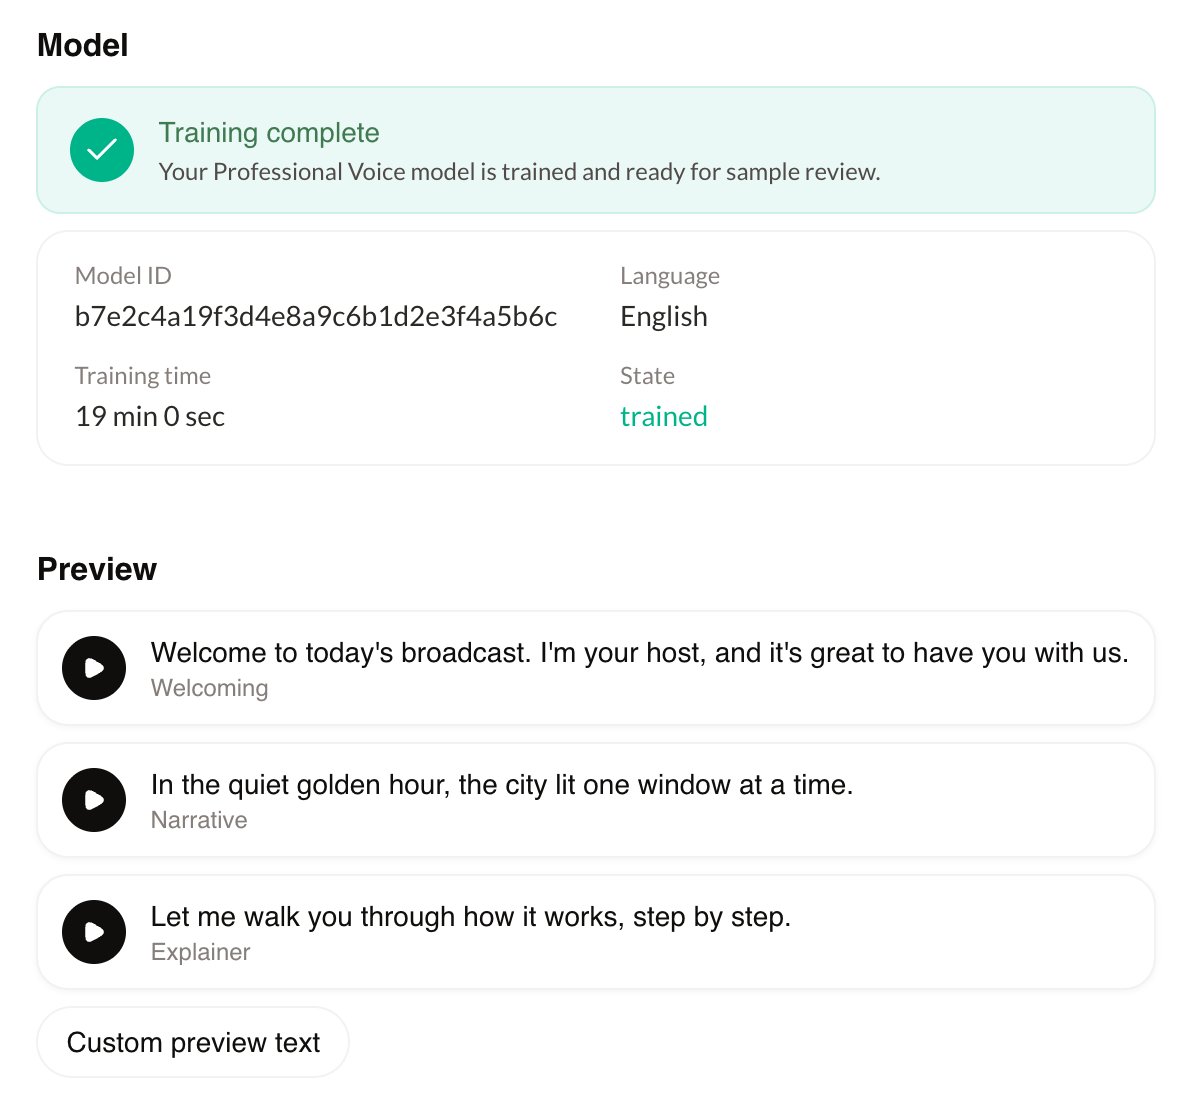
6
Add voice details
Click Continue to Release. On the Voice Details form, Fish Audio fills in some fields from the analysis. Enter a Voice Name (required) and check the other details: Cover, Description, Gender, Age, Use cases, and Voice Style.Tick the confirmation box (“I confirm I have permission to create and share this voice model.”) and click Create Voice. Fish Audio saves the details, opens the voice page, and shows the Release Voice dialog.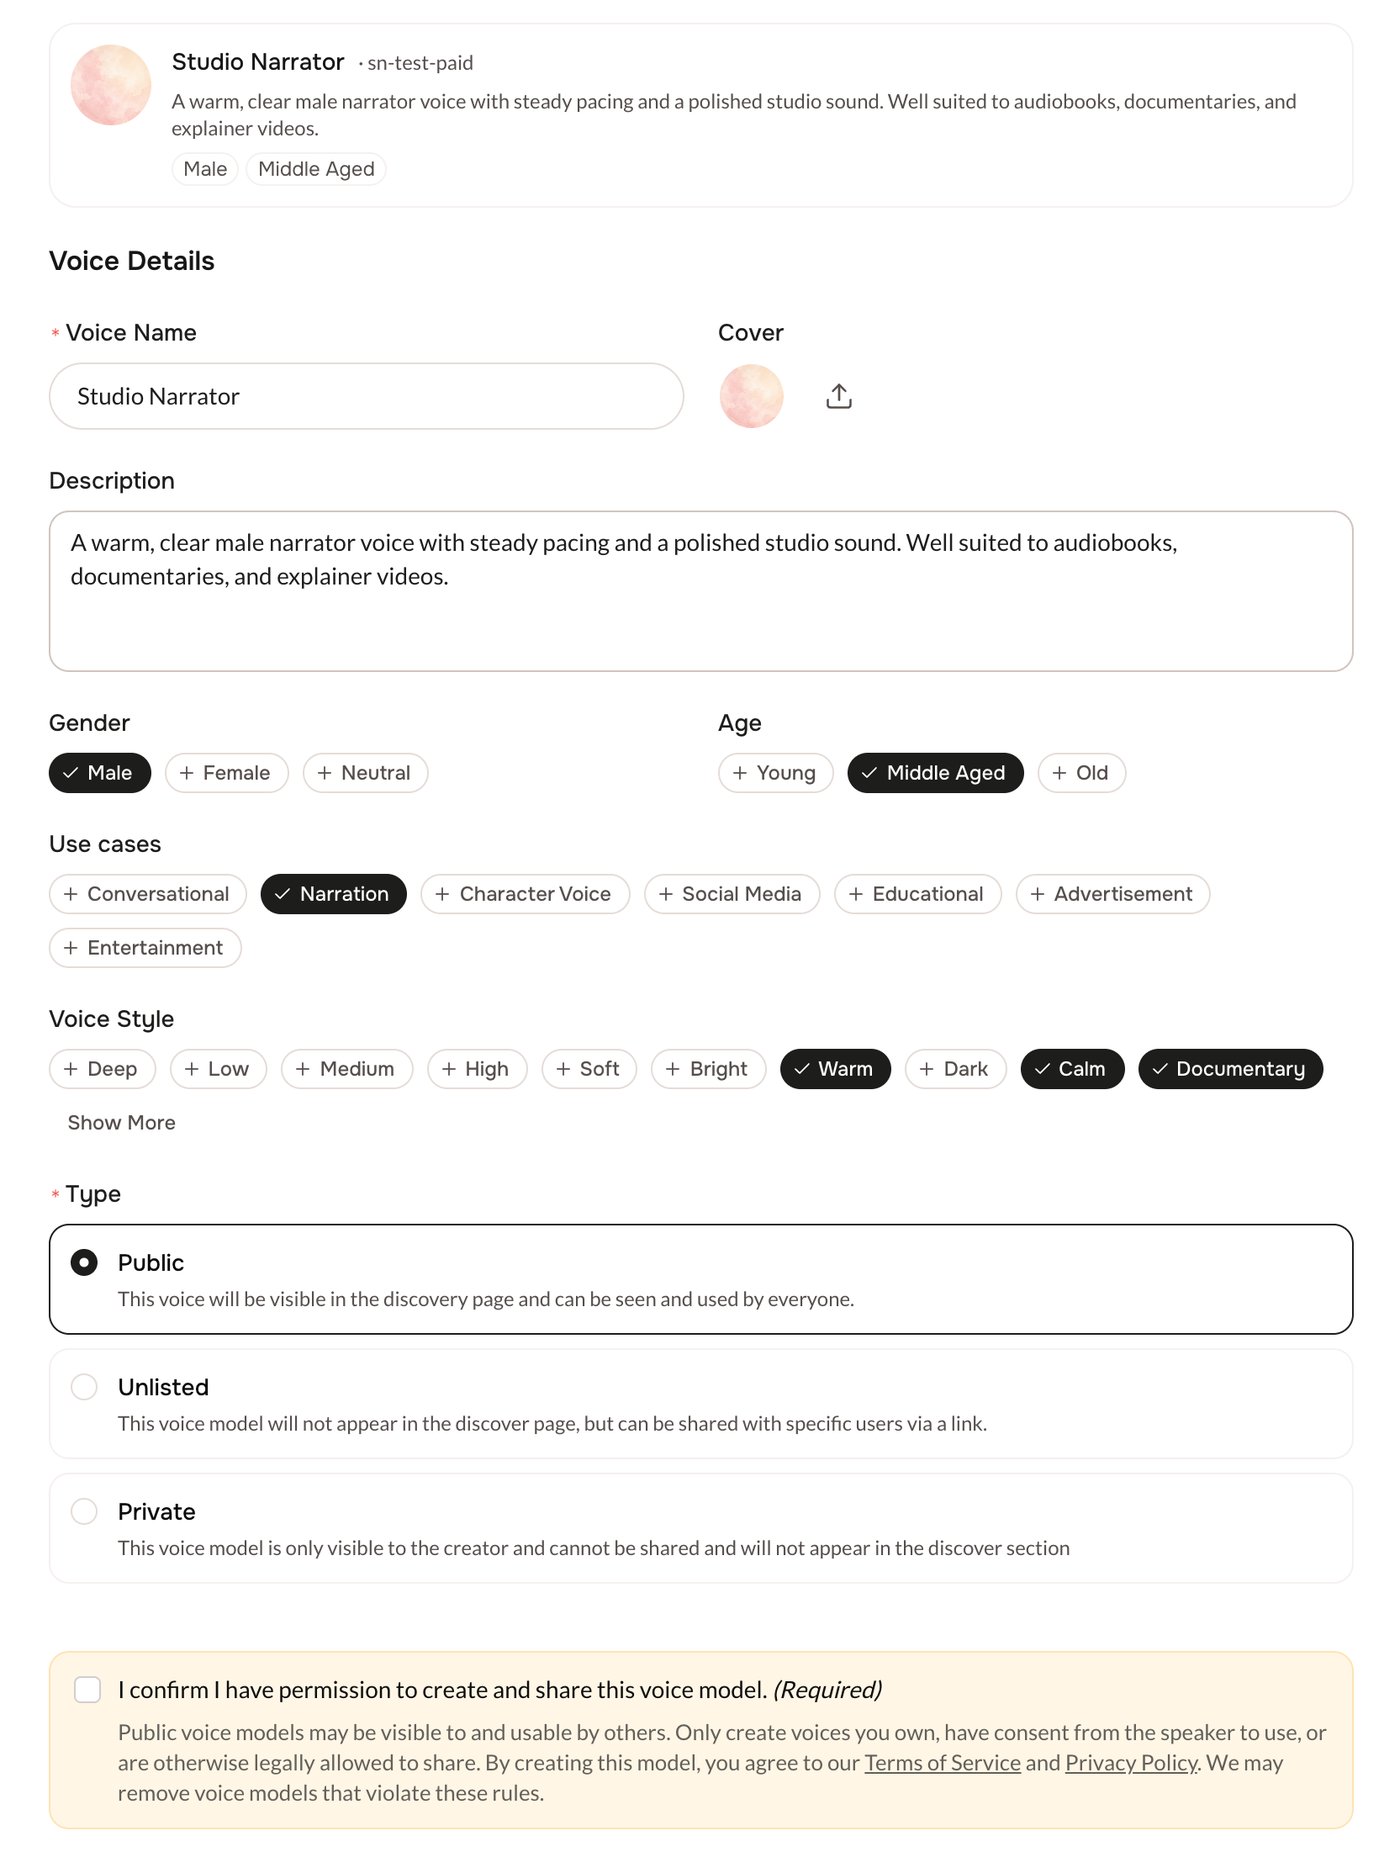
7
Release the voice
In the Release Voice dialog: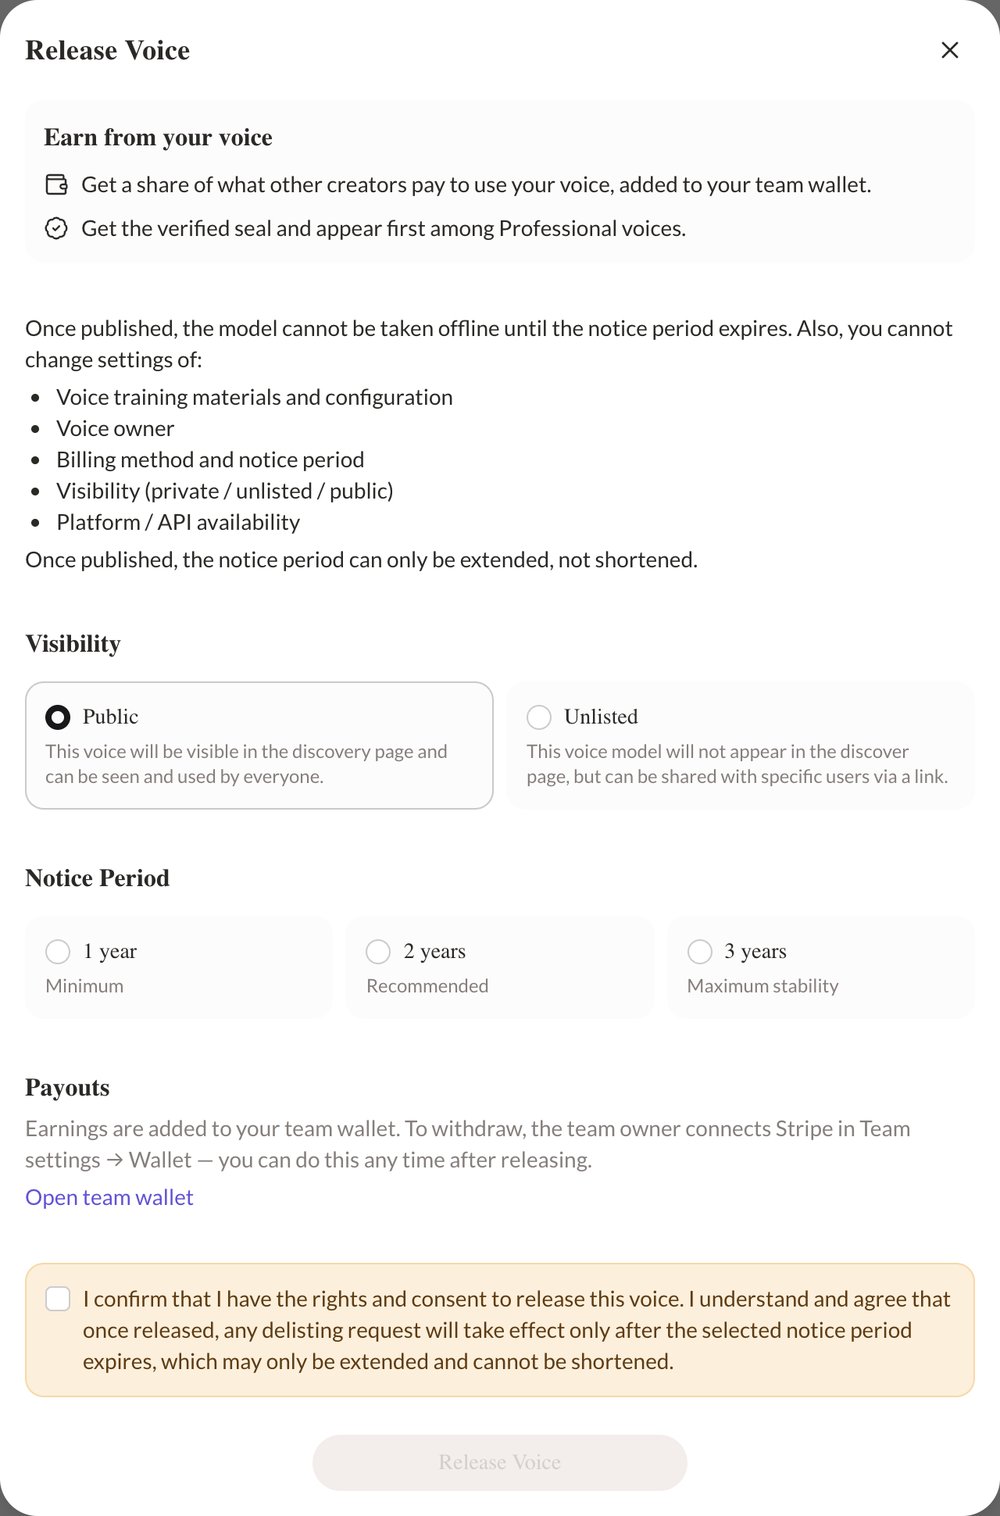
- Visibility: choose Public or Unlisted.
- Notice Period: choose 1 year, 2 years (recommended), or 3 years. After release, the voice stays available to the people who use it until the notice period ends. You can extend the notice period later, but you cannot shorten it.
- Payouts: your earnings go to your team wallet. To withdraw them, the team owner connects Stripe in Team settings → Wallet. You can do this at any time after you release the voice.
After release
On the voice page, open the More actions (…) menu and click Edit Release to see the Release status. From there you can:- Extend notice period.
- Retire voice: the voice stays available for existing Platform and API use until the notice period ends.
Resume a clone in progress
The Create Voice hub lists your clones below the method cards:- Professional Clone Draft → Continue: resume a clone that is still uploading, analyzing, or waiting for verification. You can also delete a draft.
- Professional Clone Training in progress: the clone is verifying or training. The row updates automatically.
- Professional Clone Awaiting Release → Release: training is done and the voice is ready to release.
- Professional Clone Trained → Release or View: release the voice, or open it if it is already released.
- Professional Clone Failed → Contact Support: verification or training did not succeed. You can delete a clone that failed verification.
Troubleshooting
Professional Voice Clone is not included in the Free plan
Professional Voice Clone is not included in the Free plan
PVC needs a paid plan. Upgrade your plan to create studio-quality voice clones.
You've reached the limits of your current plan
You've reached the limits of your current plan
You have used all your PVC slots. Upgrade your plan to get more slots.
A clip was rejected
A clip was rejected
Usually the cause is background noise, no clear speech, or more than one speaker. Record again in a quiet room with one speaker and upload the new clip.
Verification attempts exhausted
Verification attempts exhausted
The clone used all of its verification attempts and cannot continue. Delete it from the Create Voice hub to free the slot, or contact support.